Wednesday, June 16, 2010

Typography Guide - RenzGFX

This tutorial was fully made by RenzGFX, all the credits go to him, do not show this guide on a different site. (Click for full size because I'm having some trouble with Blogger)  Here is more of this great artist: http://renzgfx.deviantart.com
xxxxhhhhhh


post signature

Saturday, June 12, 2010

Work Beats Talent

See the little signature in the corner? (Click on it for full size if you can't.) It will be placed under every post starting today.

Friday, June 11, 2010

5 Tips for Photographers!

Enjoy the tips.


TIP 1: GO OVER THERE
Go closer to the subject(s) to gain a realistic view. This could be lowering yourself to your dog's height, or moving closer to the car you want to capture.


On this photograph you can see that the photo camera was moved to the height of the pigeon, and that it was also zoomed (or brought closer) to gain a great closeup. The great photo named 'Curious' was made by Theshinyrock on Deviantart.

TIP 2: BE FAST
Just be fast in some cases! Your subject may stop smiling, move, bolt, fly away, or whatsoever. Don't wait until you know 100% that all the buttons' settings are correct, edit the photo later if you really want to.


If this photo was taken a second or two later it could have been too late. This photo was taken by Georgitanev on Deviantart.


TIP 3: BE SMART, BE SIMPLE
Don't use all the functions your camera has. Just keep it clean and simple. But don't rely on a fully automatic setting. Go change some things, but be smart, be simple.


SETTINGS, by Hampalampa on Deviantart.


TIP 4: FOCUS
If you think about it, everything in life can be made as an interesting photo. Some thing that may seem boring at first, can be changed to a great photo with interesting insides. 
It's really easy to just photograph anything. The hard part is to make it interesting. Select only what you want in your photo. There can be side things, but do put the focus on your main object.


FOCUS, by Shimp.


TIP 5: DONT FEAR
Don't allow yourself to be paralyzed by fears of using the wrong settings and such. If you are afraid of upsetting someone by taking their picture, just go up and ask if it's okay. Nine of the ten times they say ok. But don't go secretly snapping photo's of people when you didn't ask him/her yet. 


-Justphotoshopping Team

Wednesday, June 9, 2010

Photoshop Tutorial - Soft Blue Effect

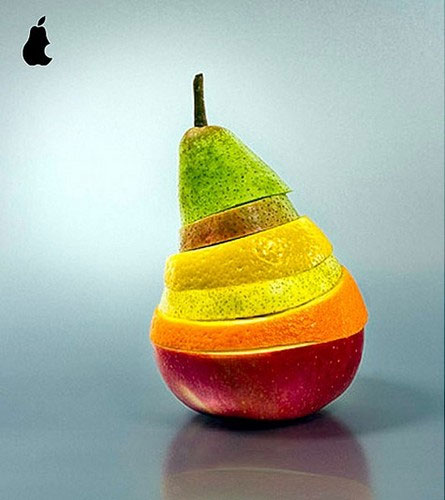
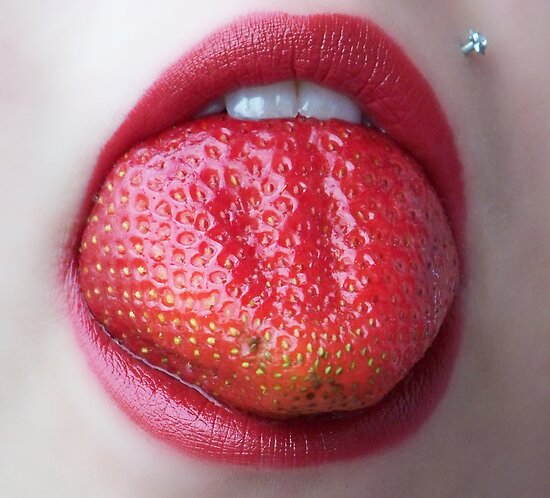
In this tutorial we will go from this picture:
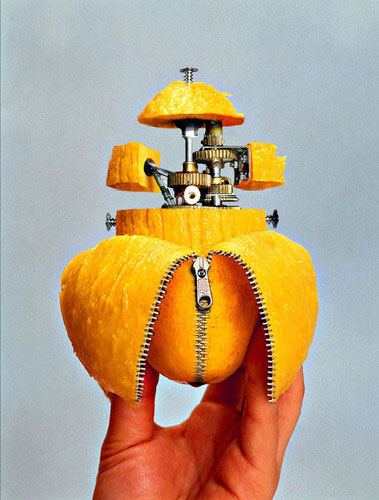
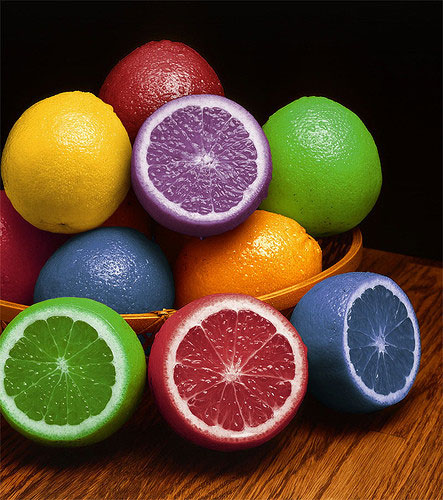


To this picture:


Step 1:
Click the little icon in the corner of your layer palette (Shown below) and then click 'Gradient Map'. 


Now choose a blue color like I did (Also shown below), and black.
(Click for full size)


Step 2:
Okay, go to Image→Apply Image. Hide the Gradient Map layer by clicking on the little 'Eye' next to the thumbnail of the layer.
After that, go to Filter→Blur→Gaussian Blur. Enter about 8,4 px. Put this layer to Soft Light, and you are done!

-Justphotoshopping Team

Thursday, June 3, 2010

Interview with RicardoFX

Why interview only the professionals? This is an interview with RicardoGFX, and he is an great upcoming Photoshopper. I hope you will enjoy reading this interview.


© The artwork presented on this post is used with the permission of its author, RicardoFX. All the artwork is copyrighted. Please do not use the images without the permission of the artist or owner. 


Thank you for agreeing with taking this interview, do you have any things to say beforehand?
I would like to thank once again the opportunity to talk a little bit of my work for those peoples who enjoy and always comment job. Thanks :D


Could you introduce yourself please?
My name is RicardoFX, I'm 33 years old and am self-taught in digital art,I'm living in Rio de Janeiro/Brazil. Digital art is still just a hobby for me this is not my real professional activity,but I can not imagine my life without digital art.My main software is the Photoshop, I have an original version of Photoshop Cs2, and everything I do use it,and also drawing with pen and paper and scan the images, making the most of my shapes and some brushes. Sometimes I use illustrator too, but I'm still learning this software. Now I'm thinking about buying Photoshop cs5 and a Intuos 4 Tablet to improve the quality of my projects.and always keep searching for inspiration and observing trends and new artists.


Hip-Rapper: This was a very common style of work in digital art. I created some vectors and used smoke effects, of course, all this with an excellent image of stock.


When have you started with Graphic Designs? Can you tell us how you first started Photoshopping? And since when?
I started with Photoshop two years ago. That was when I needed to do a job for the shop where I work and since then I fell in love with Photoshop and Digital Art. Now, with the little time I have try to improve my knowledge.


Where do you get your inspiration?
Music videos clips are my greatest source of inspiration. I love hip hop and I love music. I also really observe the work of the masters of digital art.


Is there something you would like to say to just beginning designers?
What can I say? Never give up to doing what you really like. Never give up your dreams, NEVER...


My World: This work was a mixture of different techniques, such as illustration, vector and mask.that´s all ;D.


What program(s) do you use to create your work?
My main program is a original version of Photoshop cs2. I'm thinking of upgrading to version cs5.sometimes I use another program like Illustrator for example.
My main editing program is Photoshop. I currently did many designs with free hand and turned them into a vector to use in my projects.


Are you working on a project A.T.M.*? Can we see a little fragment of it?
Yes, but unfortunately I cannot show you a preview. A photographic studio based in Switzerland has commissioned some work and I am currently developing the second. Perhaps after the commercial release of work, I can show it in my portfolio. I'm not creating any personal art currently.
*A.T.M. = At The Moment


Have you already seen Photoshop Cs5?
I'm outdated, because my version is still the CS2, but I hope to upgrade my Photoshop to version CS5. I have not seen but have heard good feedback about the new version.


What is your favorite band?
My favorite styles of music are Hip Hop and Gospel. Kayne West, Kid Cudi, T.I king and 50 Cent are my favorites rappers.


Swirls: Here I wanted to make a clean and clear work.I took a pen and paper and drew some elements that wanted to use, so I scanned and placed with the image.all elements of the work was hand drawn and digitized.


Do you have a favorite color?
I do not have just one favorite color. I like the mix of all colors.


What are your hobby’s besides designing?
I love physical exercise, I do daily exercises in a gym, and the best part is being together with my fiancee.


What was your first piece of ‘art’?
I honestly do not remember very well, but it sure was not very nice to see :) hehe.


dance with me: This was another clean job and with a very nice end result.I used in this image water paint,displace effects and a stock of butterflies.
Who is your idol?
This one is easy to answer: JESUS


Thank you for this interview.


© The artwork presented on this post is used with the permission of its author, RicardoFX. All the artwork is copyrighted. Please do not use the images without the permission of the artist or owner. 

Tuesday, May 25, 2010

Photoshop Tutorial(s) - Paint and halftone effects

Paint effect
Welcome to this tutorial where you will learn how to give a a painted look to clothing and such.


Step 1:
Get a picture with a white background background, like this one:


Step 2:
I chose to select every color of the clothing (I'm also going to select  head and hair) in separate layers, which makes it easier to edit later and gives a better result. The selection process can easily be done with either the pen tool (see this tutorial) or the polygonal lasso tool (zoom in until you see pixels). Once you've selected everything in seperate layers go to step 3.


Step 3:
Choose the first layer you want to edit, I decided to take the yellow one. Now go to Filter→Blur→Blur more  so the effect looks better. After that use Filter→Brush strokes→Crosshatch. I used: Stroke length: 9, Sharpness: 6 and Strength: 1. After you've done that it should look like this:


It doesn't realy show when you do just one layer
Now apply this to every colored layer, but not her head or hair. It should look more like what we want now, this is what it's supposed to look like:


Step 4:
Now there's probably something bothering you, why did we not just apply the same trick to the face? Simply because it doesn't turn out right. When you apply the same filters to the face layer you would get this:

And making this girl the joker is a sin! (I used crosshatch twice to make her scarier.. Why so serious?)
So instead select her face, and apply these filters on her: Filter→Blur→Blur more and Filter→Arstisctic→Dry brush (Brush size: 2, Brush detail: 8 and texture: 1)
Use the eraser to tool to delete her eyes on the layer, and you've got you're done with adding the painted effect (don't forget to show the lowest layer to). Here's my outcome:


Halftone effect
Now I'll show you how to create a halftone effect, I'll use the same picture since it's easier.
I'll simply make a new layer, apply my image and use 


Filter→Pixlate→Color halftone.


There are quite some settings you can change, but I'm not really planning to explain them. Since I don't have a very high quality image, I'll set the Max. Radius to 4 and to keep it simple and get a nice effect I'm going to put all the channels to 25. What you've got now is probably not realy looking good.. Here's what happend with me:


Obviously this isn't what I want it to look like, so I deleted all the white parts and the middle of the girl, and now it looks like this:


Hope you enjoyed these tutorials and please comment with your outcomes if you like them!
~The Just photoshopping team.

Monday, May 24, 2010

5 Ways to overcome your Creative/Artistic block!

An artistic or creative block can be one of the worst things for a designer, painter or any other artistic. But suffering from an artistic/creative block doesn’t mean you’ve lost your artistic ability. Here are 5 golden tips on overcoming your creative/artistic block.


TIP 1: READ AND WATCH
Read books and watch movies. You will be suprised how much inspiration will flow into you. Pause the movie for a while, take a good look and start drawing. 
Are you making the tragic love scene, or the fight scene between two heroes?


A piece of art based on the final battle in Harry Potter, created by Nebezial on Deviantart.


TIP 2: TIME 
Take your time to think of something you can create. Don't rush into things, if you don't have enough time, don't even start at all. 


Just TIME, by Natdatnl on Deviantart.


TIP 3: VARIATION
Don't be afraid to try the weirdest things out! They might end up very beautiful. It will also learn you lots of new things.


Styles can change..


TIP 4: DO SOMETHING ELSE
Go outside, take a walk and just don't think about anything art related.


Walk With Me by Michal Mierzejewski.


TIP 5:
Make work on a more regular basis. Example:"I am going to make 2 pieces in this week." 
You will learn to repeat some steps by this technique, because 2 pieces a week is a lot.


I'm Busy...created by Arseni


I hope you enjoyed this post, and now go overcome your block!


-Justphotoshopping Team

Saturday, May 22, 2010

Photoshop Tutorial - Adding Rain to any picture

Hi there, it seems that a lot of people don't know how to easily add rain to your picture. Well, just follow this tutorial!


Step 1:
Open your document with your desired size. Fill it with black. 
Now go to Filter→Noise→Add Noise. Click Monochromatic on. Set your amount to something between 70 - 150 %. The higher your number the more rain. 


Step 2:
Now go to Filter→Blur→Motion Blur. Edit your Angle and Distance until you like it.
When you did that, go to Image→Adjustments→Levels. Pull the black arrow more to the right to get better/less rain.


Step 3:
Press Ctrl+A to select everything, and then press Ctrl+C to copy everything. Now past it on your picture, and put it to screen (Other Blending modes like Lighten, Color Dodge and Linear Dodge changed the lighting of the picture or the rain got different colors).

Viola!


Thursday, May 20, 2010

Nature Gallery

All the artwork belongs to their respectful owner. We do not own any of the picture's shown.


We hope that you will be inspired by all the art in this post. Thank you for watching.


-Justphotoshopping Team