Step 1:
Learn in this tutorial how to create an Wallpaper based on Apple...Start working by creating a new file (File>New) with 1280×1024 px and 300 dpi.

Step two:
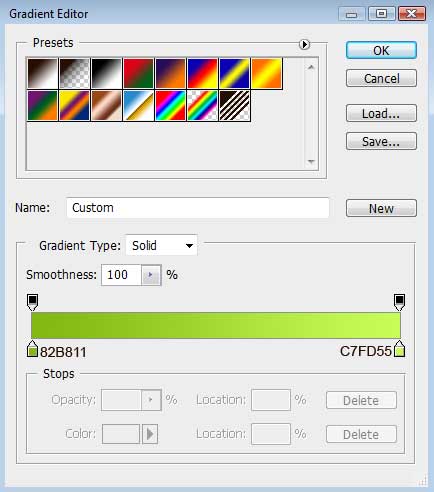
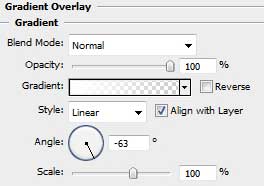
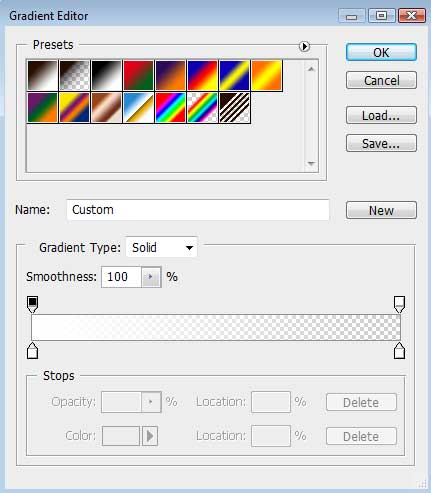
Now we are going to add a Gradient Overlay, by right clicking the mouse on the layer, then go to Blending Options. Now click on Gradient overlay, and change it to this:


Step three:
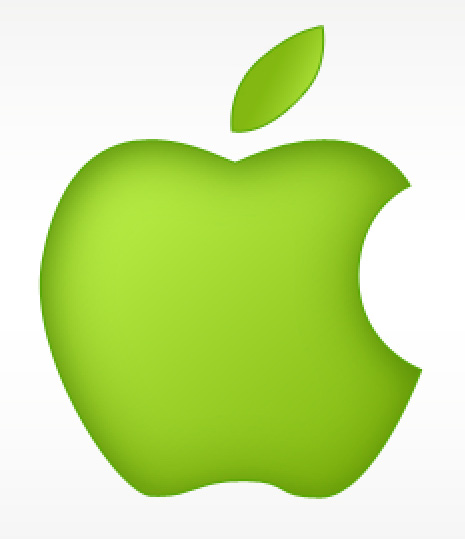
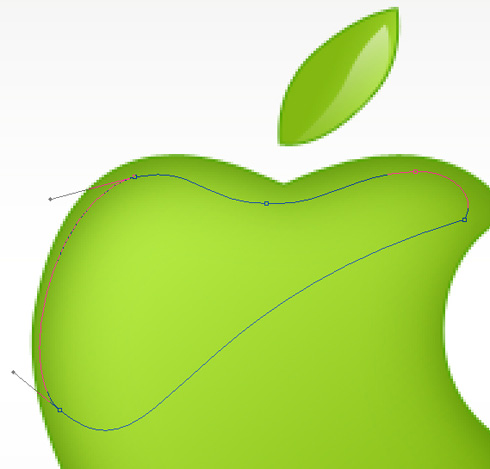
This is the hardest. Take out your pen tool, and draw the form of an Apple with a circle next to it.Press Alt button while using the Ellipse Tool (U) to cut out a part of the apple, from its right side, the same way shown below: Learn how to use the pentool here: http://www.melissaclifton.com/tutorial-pentool.html

Step four:
Blending Options>Inner Shadow

Blending Options>Inner Glow

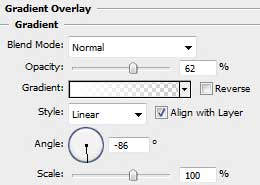
Blending Options>Gradient Overlay

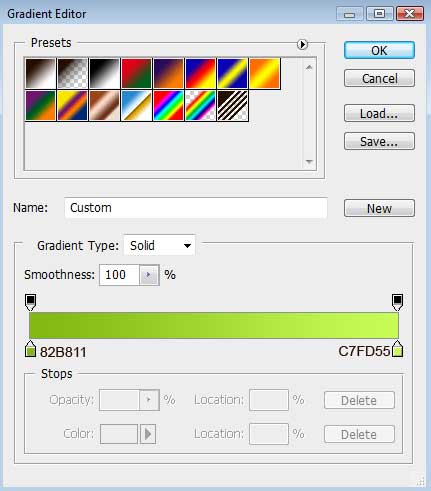
Now then, a gradient..meters:
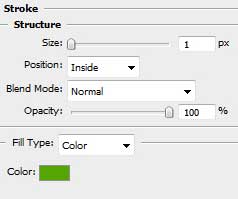
Blending Options>Stroke

Now, it looks like this:
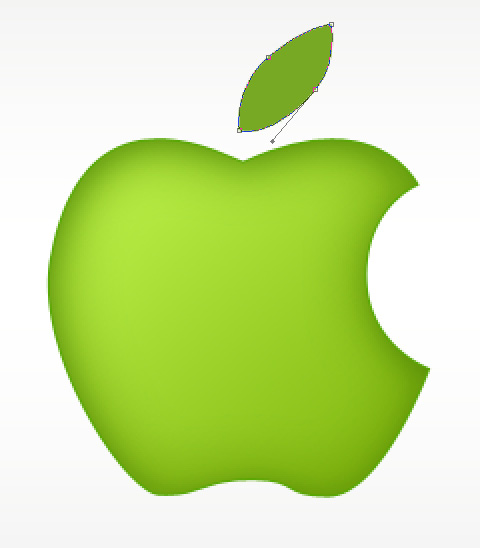
Step five:
Take out your Pen Tool again, now we're going to add the leaf on top of the Apple.
Blending Options>Gradient Overlay
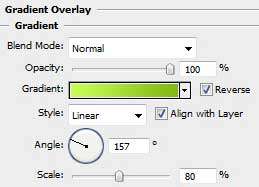
Gradient
Blending Options>Stroke
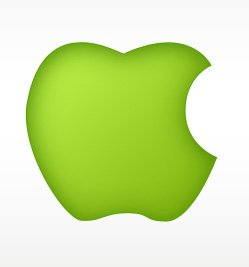
And BAM! You got it already really far.
Step six:
Makin' an highlight now. Grab your Pen Tool again.

Blending Options>Gradient Overlay (Fill 0%)
Gradient
Step seven:
Highligh time!! Now for the Apple :D
Blending Options > Gradient Overlay (Fill 0%)
Gradient

Omg Omg! You got this awesome Apple now!

Step eight:
You can add a little mark or something on the Apple, not going to explain any of that though.
We are going to Add a reflection, and you will just have to follow this tutorial, 'cause I'm getting sleepy..
Well, there ya are! Maybe wanna add a white brush of 65 px (20% Opacity) though.. But thats ur choice.