Tuesday, May 25, 2010

Photoshop Tutorial(s) - Paint and halftone effects

Paint effect
Welcome to this tutorial where you will learn how to give a a painted look to clothing and such.


Step 1:
Get a picture with a white background background, like this one:


Step 2:
I chose to select every color of the clothing (I'm also going to select  head and hair) in separate layers, which makes it easier to edit later and gives a better result. The selection process can easily be done with either the pen tool (see this tutorial) or the polygonal lasso tool (zoom in until you see pixels). Once you've selected everything in seperate layers go to step 3.


Step 3:
Choose the first layer you want to edit, I decided to take the yellow one. Now go to Filter→Blur→Blur more  so the effect looks better. After that use Filter→Brush strokes→Crosshatch. I used: Stroke length: 9, Sharpness: 6 and Strength: 1. After you've done that it should look like this:


It doesn't realy show when you do just one layer
Now apply this to every colored layer, but not her head or hair. It should look more like what we want now, this is what it's supposed to look like:


Step 4:
Now there's probably something bothering you, why did we not just apply the same trick to the face? Simply because it doesn't turn out right. When you apply the same filters to the face layer you would get this:

And making this girl the joker is a sin! (I used crosshatch twice to make her scarier.. Why so serious?)
So instead select her face, and apply these filters on her: Filter→Blur→Blur more and Filter→Arstisctic→Dry brush (Brush size: 2, Brush detail: 8 and texture: 1)
Use the eraser to tool to delete her eyes on the layer, and you've got you're done with adding the painted effect (don't forget to show the lowest layer to). Here's my outcome:


Halftone effect
Now I'll show you how to create a halftone effect, I'll use the same picture since it's easier.
I'll simply make a new layer, apply my image and use 


Filter→Pixlate→Color halftone.


There are quite some settings you can change, but I'm not really planning to explain them. Since I don't have a very high quality image, I'll set the Max. Radius to 4 and to keep it simple and get a nice effect I'm going to put all the channels to 25. What you've got now is probably not realy looking good.. Here's what happend with me:


Obviously this isn't what I want it to look like, so I deleted all the white parts and the middle of the girl, and now it looks like this:
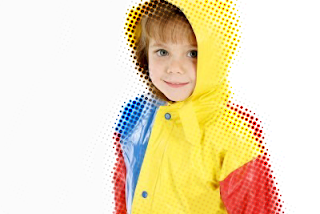


Hope you enjoyed these tutorials and please comment with your outcomes if you like them!
~The Just photoshopping team.

Monday, May 24, 2010

5 Ways to overcome your Creative/Artistic block!

An artistic or creative block can be one of the worst things for a designer, painter or any other artistic. But suffering from an artistic/creative block doesn’t mean you’ve lost your artistic ability. Here are 5 golden tips on overcoming your creative/artistic block.


TIP 1: READ AND WATCH
Read books and watch movies. You will be suprised how much inspiration will flow into you. Pause the movie for a while, take a good look and start drawing. 
Are you making the tragic love scene, or the fight scene between two heroes?


A piece of art based on the final battle in Harry Potter, created by Nebezial on Deviantart.


TIP 2: TIME 
Take your time to think of something you can create. Don't rush into things, if you don't have enough time, don't even start at all. 


Just TIME, by Natdatnl on Deviantart.


TIP 3: VARIATION
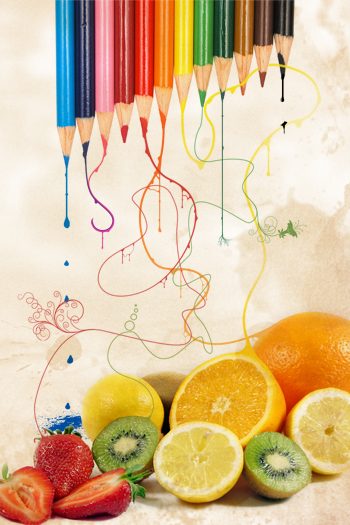
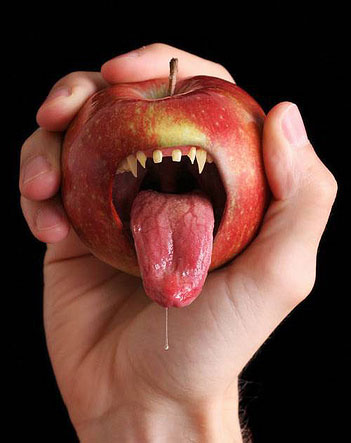
Don't be afraid to try the weirdest things out! They might end up very beautiful. It will also learn you lots of new things.


Styles can change..


TIP 4: DO SOMETHING ELSE
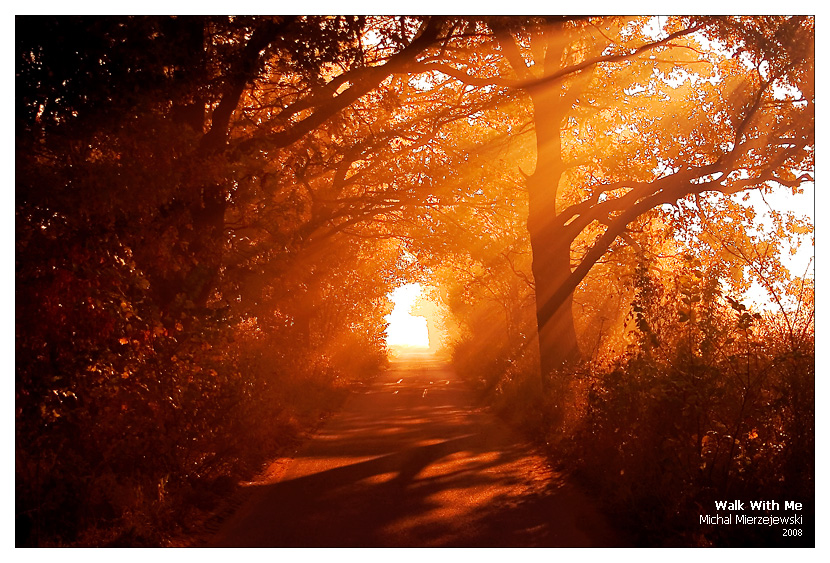
Go outside, take a walk and just don't think about anything art related.


Walk With Me by Michal Mierzejewski.


TIP 5:
Make work on a more regular basis. Example:"I am going to make 2 pieces in this week." 
You will learn to repeat some steps by this technique, because 2 pieces a week is a lot.


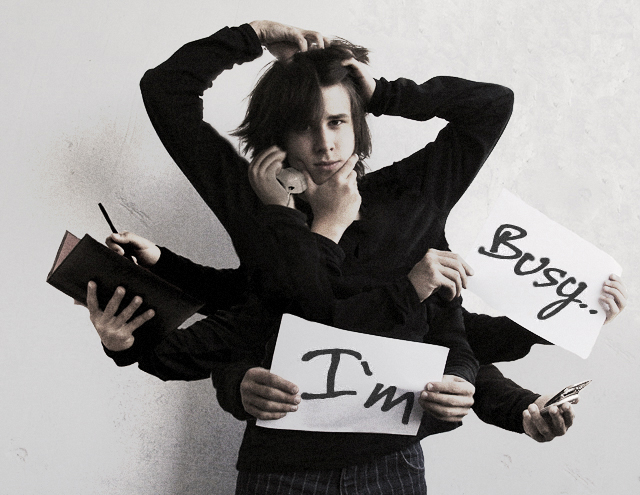
I'm Busy...created by Arseni


I hope you enjoyed this post, and now go overcome your block!


-Justphotoshopping Team

Saturday, May 22, 2010

Photoshop Tutorial - Adding Rain to any picture

Hi there, it seems that a lot of people don't know how to easily add rain to your picture. Well, just follow this tutorial!


Step 1:
Open your document with your desired size. Fill it with black. 
Now go to Filter→Noise→Add Noise. Click Monochromatic on. Set your amount to something between 70 - 150 %. The higher your number the more rain. 


Step 2:
Now go to Filter→Blur→Motion Blur. Edit your Angle and Distance until you like it.
When you did that, go to Image→Adjustments→Levels. Pull the black arrow more to the right to get better/less rain.


Step 3:
Press Ctrl+A to select everything, and then press Ctrl+C to copy everything. Now past it on your picture, and put it to screen (Other Blending modes like Lighten, Color Dodge and Linear Dodge changed the lighting of the picture or the rain got different colors).

Viola!


Thursday, May 20, 2010

Nature Gallery

All the artwork belongs to their respectful owner. We do not own any of the picture's shown.


We hope that you will be inspired by all the art in this post. Thank you for watching.


-Justphotoshopping Team

Wednesday, May 19, 2010

Inactivity

We would like to apologize for our inactivity these days. We are very busy, but that won't keep us from posting anymore. Thank you to all the people that are still watching this blog once a while, it means the world to us.


-JustPhotoshopping Team

Tuesday, May 11, 2010

Photoshop Tutorial - Stroke Photo

Hey guys, today we will explain to you how to make this random stroke effect on a photo.
This is the effect I made that we will be recreating.


Lets go!


Step 1:
Open a new file (with the size of your picture). Now go to Filter→Render→Cloud. Then go to Filter→Render→Difference Clouds. Repeat Difference Clouds around 30 times (Ctrl + F is a shortcut for the last used Filter) until you get something like this:


Step 2:
Now go to Filter→Brush Strokes→Angled Strokes.  The settings I used: 
Direction Balance: 50
Stroke Length: 15
Sharpness: 3


Go crazy with the settings, I got this:


Step 3:
Now paste it on the layer above the picture, change the Blending Mode to what you like, I chose Color Dodge.


The problem with these kind of effects is that it's random. You can't decide where the lighting comes from. Thats also why you should press Difference Clouds until you are happy with it.

Thanks to http://www.images-photography-pictures.net , they have a great amount of pictures, and you can use any of then in exchange for a link.


-Just Photoshopping Team

Monday, May 10, 2010

I Will Dance

The other day I was just messing with Photoshop, and I found this render that I had in my archive. Then I just had to make this. Tell me what you think of it.


Photoshop tutorial - Abstract Plasma

Just a random tutorial. Have fun.


Step 1:
Open up your new file, I used 500x500, after that, fill it with black.


Step 2:
Go to Filter→Render→Lens Flare. Click 50-300 zoom. Place it in the corner, repeat the process, but every time in a different corner. Place the last one in the middle.


Step 3:
Go to Filter→Sketch→Chrome , use the default settings.


Step 4:
Duplicate the layer then go to Filter→Distort→Wave and click random a few times (Do this on the duplicated layer) now click 'Ok' and set Layers Blending mode to 'Lighten'
Step 5:
Repeat step 4 a few times, each using duplicated Layers and Lighten all layers, once you are done go to Layer→Merge Visible.
Step 6:
Now go to Image→Adjustments→Hue/Saturation, click Colorize on and then mess with the settings until you get a colour you like.
Well, thats it for now.

-Justphotoshopping team

Saturday, May 8, 2010

Updates


Recently we have added a few updates to this blog:


  • The Helpdesk Button
  • A Poll
  • Search Button
  • Favicon
  • Last but not least; Followers

The Helpdesk Button

We have created this new part of the site that you can use when you having problems with Photoshop, if you need some help with creating a effect and for showing your art.

Sometimes we will post some of the questions you asked and make a tutorial about it.
The art part is meant for you showing us your art. We will choose the best art every month and post it, if you have a DeviantArt (Twitter, Facebook,..) and you want us to link to that, it would be our pleasure.

You can find the Help Desk here:
Help Desk: http://justphotoshopping.blogspot.com/p/helpdesk-just-photoshopping.html


The Poll
What is your favorite type of post?
Go and vote! You can find it right under the archive.

Search Button
Just as it sounds: a search button. Type in what you want to find, and he'll start searching.
Favicon


A favicon (short for favorites icon), also known as a website icon, shortcut icon, url icon, or bookmark icon is a 16×16 pixel square icon that is shown when bookmarking a page. In Google chrome it shows in every tab. You can easily make such icons in photoshop or with an internet generator, but don't forget it has to be a .ico file.


If using Google Chrome you can see it here:


Followers
When you follow this blog you will get a message every time we post something new. 
You can find the Followers application here:


Well, that' s all the updates for now.


-Just Photoshopping Team