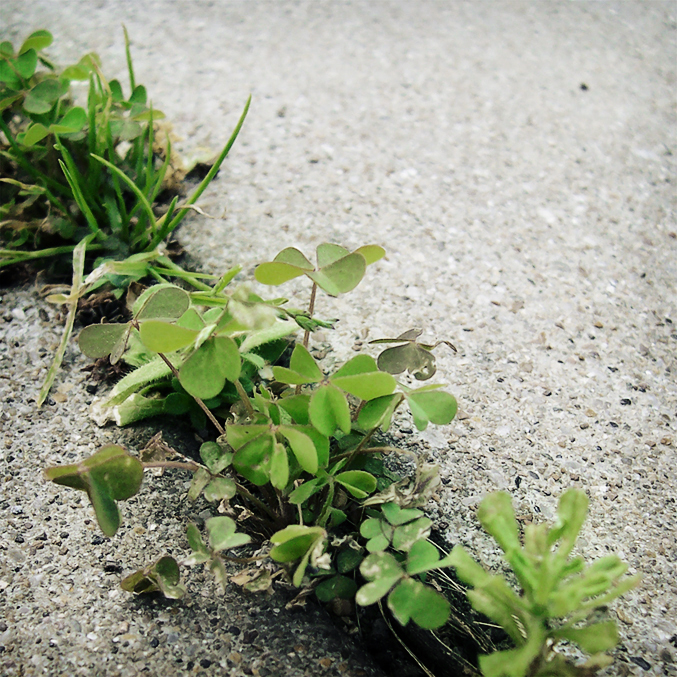
Here is a tutorial that has been posted by Jeremiah Mark Treibel, Original post HERE, and I thought that maybe you guys could learn something of it.
A Gradient Map (Pronounced Grade-e-int Map) is created when Photoshop analyzes your image and finds the high points and the low point. It then maps colors determined by you to those specific high points and low points. It is a fairly basic adjustment layer in Photoshop that can yield amazing results when used correctly. The untrained usage of a gradient map will usually make your image look worse. Today I am going to show you how to sharpen your skills and add another tool to your belt, the Gradient Map.
1.

Begin by opening your image in photoshop. Have you seen this image before?
2.

Select the “Create new Fill or Adjustment Layer > Gradient Map” option on your layers palette.
3.

Once the gradient map tool pops up, click on the big gradient and Photoshop will open up a larger more advanced tool for making your Gradient Map.
4.

As you can see(assuming you are using the default colors) the left side change the dark parts of the image to the colors you choose, and the right side changes the light parts of the image to the colors you choose. To see the basics of editing a gradient map check out this tutorial. (you only need to look at steps 2 and 3)
5.

Now lets apply this knowledge to our Gradient Map. Click the black slider and drag it to the right a little. This will increase the overall contrast of the image. You need to change the color of the black slider to some other color, I have used a navy blue.(#084669) Now you need to find the point in between the blue slider and the white slider and click to make a third slider. Select this slider and make it a pale yellow.(#fffbc1) Once your done Click “Ok”
6.

Now that you have created a gradient map, you need to learn how to apply it to your image in a way that makes it look better. I suggest playing with your blending modes. Every blending mode will have a different effect on your image. The more you play with these options the more you will become familiar with their functions. Once you find a blending modes that creates the effect you desire, play with the opacity of your blending mode to make the stylization more subtle. On my image I have used the blending mode “Soft Light ” at an opacity of “75%.”
7.


Stunning! Very well done!
ReplyDelete