This can be really annoying because some places do look good. Today we will explain to you how to make a nice sharpen.
Step 1:
Choose the picture that you want to sharpen. Duplicate the picture, and now go to channels. Choose the channel that has the most contrast, in my case, blue.
If you don't know what channels are go here: http://www.photoshopessentials.com/essentials/rgb/ .
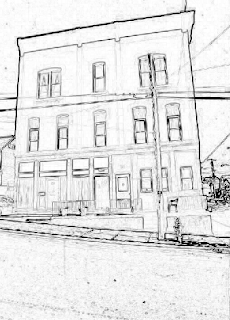
Now go to this filter: Filter→Stylize→Find Edges.
NOTE: The images for this tutorial are not correct. You need to get more detail.

Step 2:
This is the completely opposite of what we want, so press Ctrl + I. This will make our picture Inverted.
Now increase the pictures contrast with Levels or Curves.
Step 3:
Blur the image slightly with Gaussian Blur. The higher the image quality , the lower the blur, the lower the image quality , the higher the blur. keep it in between 0.5 and 3. I used 1.3.
Step 6:
Press Ctrl+A and then Ctrl + C. Now you have the picture copied, and since we don't need this layer anymore, you can delete it.
Duplicate the original picture ( the unedited one) and give it a layer mask. Make sure you have the mask selected by Alt + Clicing on it.
Paste your black and white stuff there. Now go to Filter→Sharpen→Sharpen. See what happens.
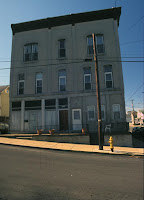
Before: After:

My image was already good, so I won't have much difference. Try it yourself too!


No comments:
Post a Comment